How to Make Photo Pillows
How to Make Photo Pillows for gifts and friends
One of my favorite teaching projects is to make photo pillows for friends and family. My 4 year old grandson said "I'm so proud of Grandma for Making this Pillow" Photo Pillows are a great way to share memories of fun times.


Photo Fabric

It's As Easy As 1.2.3
Print, Peel and Sew Photo Pillows
Follow the directions on the package for printing and then you are ready to sew!
1.Frame your photo with any 1/8” or 3/16” decorative cording with lip.

2. Tips for sewing square corners with lip cord: While your needle is in the down position fabric cut into the lip along side of the zipper.


3. While the needle is in the down position, pivot fabric to sew around corner and continue sewing the cording to the next corner and repeat on the remaining corners to frame the photo.


4. Press the cording towards the back of the photo.

5. Place the photo on the center of the pillow fabric. Measure all 4 edges to insure it is placed in the center.


6. Pin the photo in place. Attach the photo by stitching in the ditch. (Stitch between the edge of the photo and the decorative inside edge of the trim cording).


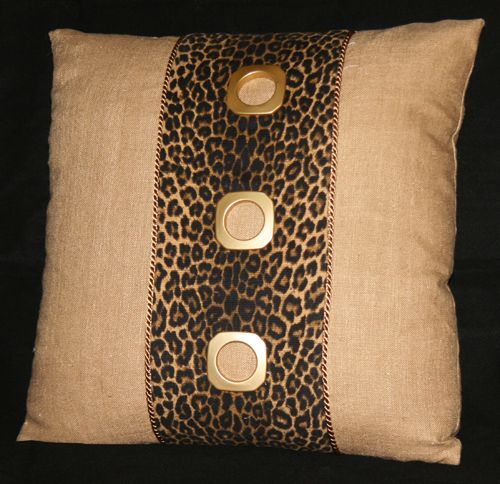
Viola’! Your photo is stitched to the pillow front!

Purchase the Photo Paper online at www.homesewingdepot.com and receive free printed instructions.